How To Attach T1 11 Siding
Introduction To T1 11 Plywood Siding Youtube
How To Build A Shed Install Shed Siding

All T1 11 Is Not Created Equal Youtube

How To Paint T1 11 Siding Exterior House Siding Exterior Paneling Exterior Siding

Got The Siding Up And It Looks Awesome T111 Youtube

T1 11 Plywood Siding Theplywood Com

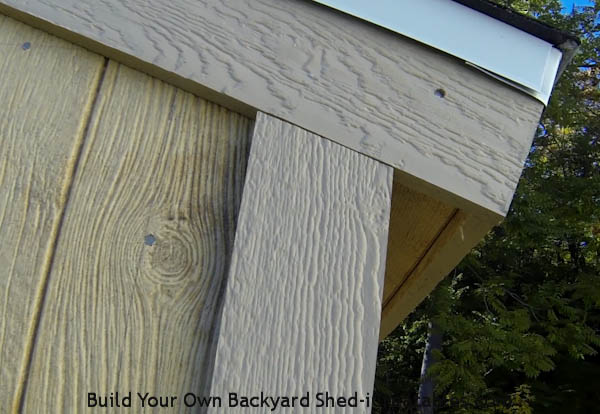
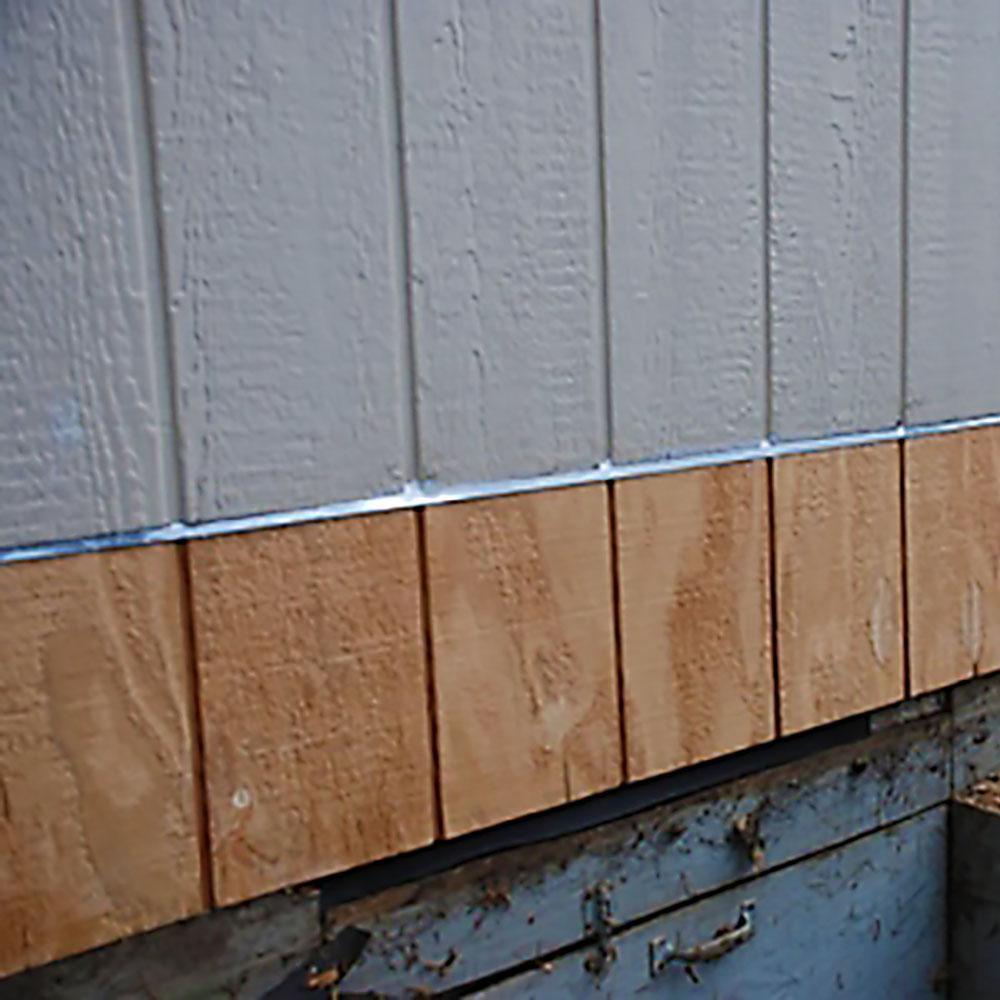
Prepare the window openings by installing self adhering flashing on the bottom edge.
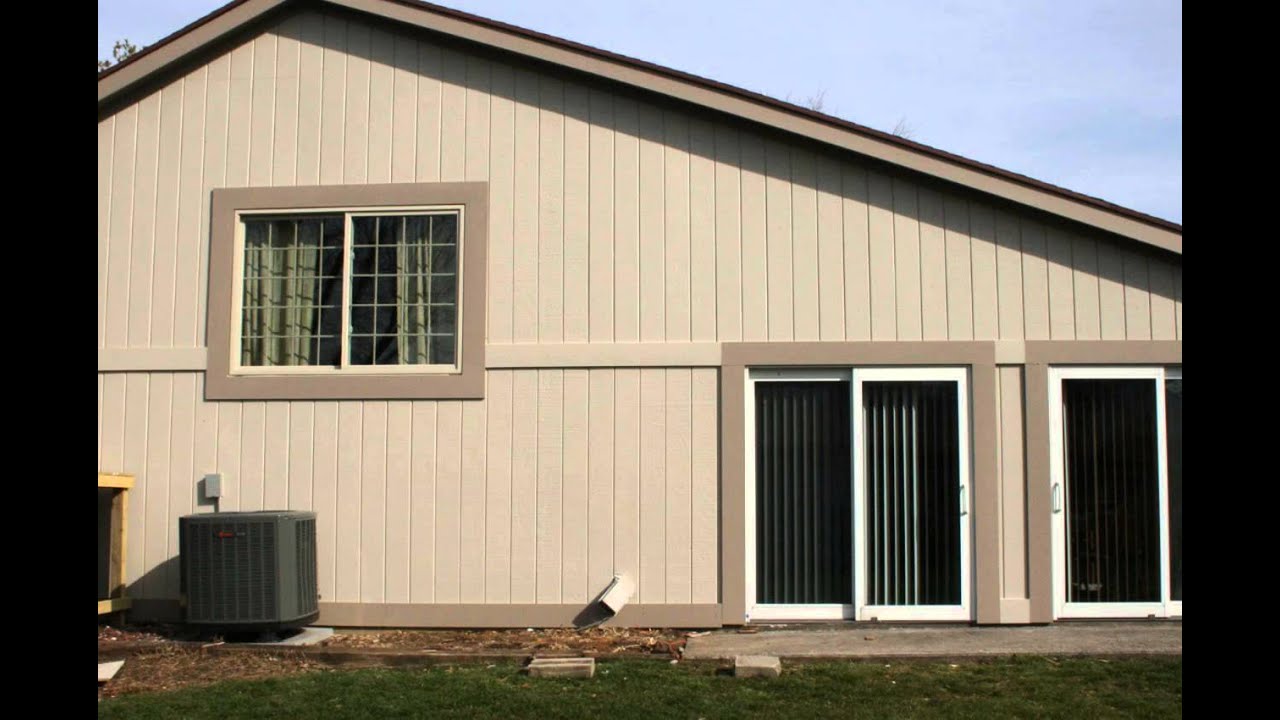
How to attach t1 11 siding. How to nail t1 11 siding. An experienced carpenter can put up a sheet of t1 11 almost faster than the eye can follow. It s still a type of siding that is made of wood which is why you should study the maintenance sectio. If you are using vinyl or aluminum.
T1 11 siding first rose to prominence during the late 1960s. Once nailed in you can give it a slight bend down so water doesn t pool up on the trim. Wrap the house with house wrap or 15 mil tarpaper. One or two blows to the nail head by a carpenter who has done this task repeatedly and the the nail is solidly into the stud below.
Hold the first sheet of t1 11 siding against the building s wall studs with the edge of its inside shiplap seam covering a wall stud. It has been in use for more than four decades wherein the core concept and the appearance of the t1 11 siding is still similar to its decades old format. The bend is optional in my opinion. Leave about a 1 4 to 1 2 inch gap vertically between the just cut t1 11 and top of the flashing.
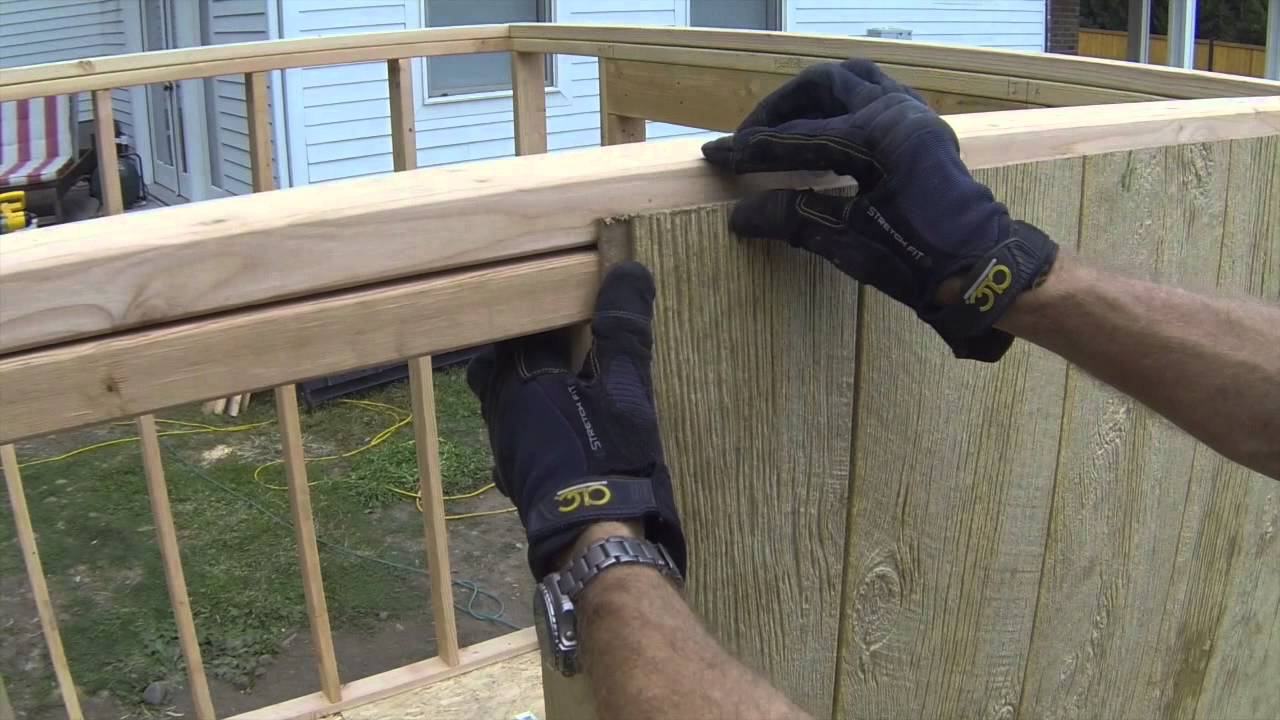
How to install t1 11 siding. Make sure there is room for the drip to settle and don t let the siding sit in the flashing. T1 11 siding can be installed using 1 5 8 inch exterior screws or 12d galvanized nails and it s best to start from the bottom up to achieve a clean seamless application. Tack the top center of the t1 11 to a wall stud with an 8d galvanized nail using a hammer to drive the 8d nail.
However t1 11 should never actually be installed flush with the ground as this contact can increase moisture buildup and promote mold growth. The traditional way to attach the sheets is with nails and a framing hammer. T1 11 siding history. T1 11 sidings are sold in two main variations.

What Fasteners For T1 11 Siding Air Fasteners Inc Carrollton Tx

How To Install T1 11 Siding Home Guides Sf Gate
Shed Door Plans Step By Step Construct101

Drip Cap Placement With T1 11 Siding Windows And Doors Diy Chatroom Home Improvement Forum

Installing Plywood Siding Tips And Tricks Using T1 11 Plywood Siding Diy Siding Siding
T1 11 Siding Installed Horizontally Home Improvement Stack Exchange

Installing Plywood Siding Tips And Tricks Using T1 11 Plywood Siding Diy Siding Siding

We Don T Need No Stinkin Flashing Carpentry Contractor Talk

T1 11 Siding Pros And Cons Installation Costs And Maintenance

How To Install T1 11 Siding Youtube

T1 11 Siding Remove And Install Page 2 Carpentry Contractor Talk

Oh The Choices Of Siding Exterior Siding House Siding House With Porch

Siding T1 11 Diy Siding House Siding Exterior Siding

How To Build Your Own Shed In 7 Steps Simple Shed Shed Build Your Own Shed

The S8 T1 11 8 Oc Siding And Trim And Barge Rafter 2 8 Dry Rot Damage Repair In 2020 Matching Paint Colors Exterior Wood Wood Repair

T111 Siding T111 Siding House Paint Exterior Board And Batten Exterior
How To Build A Shed Install Exterior Trim
Basics Of T1 11 Siding Doityourself Com
Https Encrypted Tbn0 Gstatic Com Images Q Tbn 3aand9gcsvgptqqd4ydqle B9i0fjsfy3iakiljumdgmfcdzgzkcw6al M Usqp Cau

Sean And Penny S House July 2008 Porch Ceiling Porch Ceiling Lights House Paint Exterior

T 1 11 Siding Bottom Rot Repair Need Advice Roofing Siding Diy Home Improvement Diychatroom
Wood Siding Wood Siding T1 11

Tyvek House Wrap Behind New T1 11 Siding And Corners Roofing Siding Diy Home Improvement Diychatroom

Repairing And Replacing Sheet Siding Jlc Online
How To Repair T1 11 Siding Doityourself Com

Image Result For T1 11 Siding Indoors Barn Interior Timber Frame Homes Cabins And Cottages

T111 Wood Siding Corner Trim Problem Home Exteriors Advice Youtube
Gibraltar Building Products 3 8 In X 10 Ft Galvanized Steel Z Bar Flashing Szb38g The Home Depot

9 Popular Shed Siding Options 2 Is My Favorite

How To Install Z Flashing On Rotted T1 11 Siding Home Guides Sf Gate

T1 11 Siding Cost Diy Siding Siding Repair T111 Siding

How To Make T1 11 Siding Look Better Home Guides Sf Gate

Log Home Restoration Taskmasters Wood Maintenance Part 9 House Exterior Exterior House Colors Exterior Design

T1 11 Siding Indoors Google Search Updating House Cabin Interiors Tongue And Groove Walls

Duratemp 0 563 In X 48 In X 96 In Primed 8 In Oc T1 11 Plywood Siding Panel 871934 The Home Depot Plywood Siding Exterior Wood Siding Panels Panel Siding

More Ideas Below Exterior Board And Batten Siding Diy Board And Batten Siding With Brick Fa Wood Siding Exterior Exterior Siding Options Exterior House Siding

Gitlitzgarage070919 Jpg 300 225 Garage Interior Interior Walls Interior

Lp Smartside Vs T1 11 Siding For Sheds Byler Barns

Siding Over T1 11 V Jent House Siding Home Exterior Makeover House Exterior

Lp Wood Shed Siding Vs T1 11 Siding
Window Replacement Questions Opinions Hearth Com Forums Home

Make Wall More Interesting With T1 11 Siding Garages Design Ideas With T1 11 Siding And White Rolling Door Garage Design Exterior Design Rolling Door

