How To Brace A Flush Beam In An Attic

Decks Com Installing Joists On A Deck With Angles And A Flush Beam Deck Framing Deck Building A Deck

Dang That Looks Good Ceiling Remodel Open Ceiling Attic Remodel
Removing And Supporting A Load Bearing Wall With A Hidden Beam Part 4 Youtube
Load Bearing Wall Removed Beam Put In Attic Concerns About Design House Seems To Be Twisting Rocking Since Install No Permit Homeimprovement

Pin On Maple Street House
How To Put Plywood Flooring In An Attic Over Insulation Theplywood Com

Then slip the beam members into place and rest them on the temporary cradles.
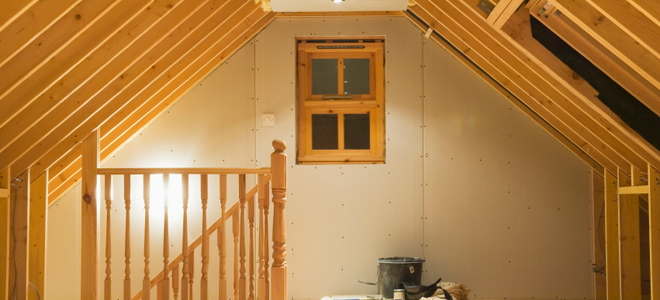
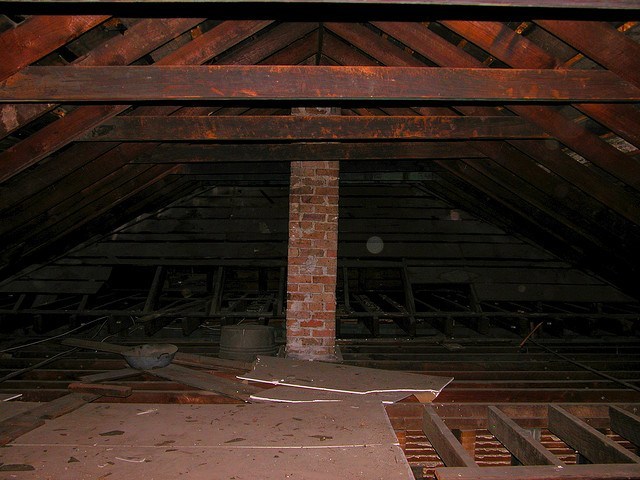
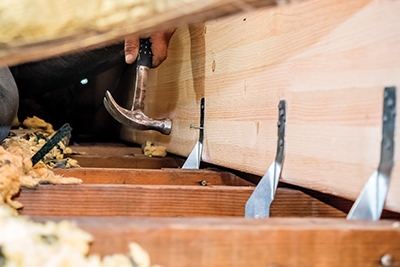
How to brace a flush beam in an attic. Typically either side of the new beam the walls and framing is shored up. Step 16 cut the sole plate of the wall flush with the king stud. I have done a few of them myself. Pieces of 2 by 4 inch lumber are placed between the trusses underneath the decking to keep trusses straight.
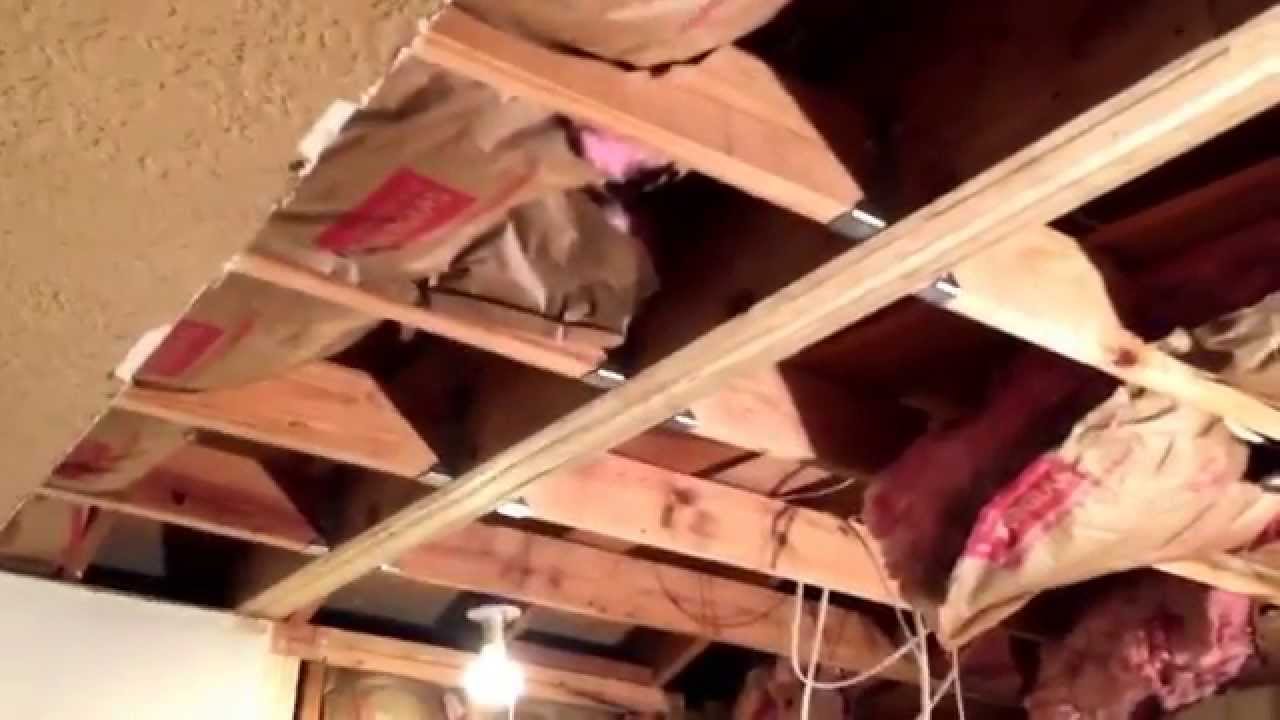
Remove the studs and plates from your new pass through. Short of the overall length and cut notches at the top to fit beneath the top plates in perpendicular walls photo 9. If the attic is being finished for living space these pieces called scabs can be installed flush with the trusses to provide areas for sheetrock or paneling to be nailed to. Cut the top plates of the wall flush with the king stud near the ends of the new beam make sure you leave about 6 of support for the new beam to bear on.
A new beam goes in. How to create an open concept room with a flush beam duration. Flush mounted beams are commonly installed in attics. Cut the two beam members lvls 1 2 in.
The old framing tied into the new beam with proper joist hangers and strong tie type connectors. Cut the beam to length and cut notches to clear tie plates in adjoining walls.

How To Frame A Gabled Dormer Attic Remodel Attic Renovation Dormers

Header Pic Pictures Image Photo Gallery Beams Projects Home Improvement

2 Meter Bobtail Beam Attic Version For Restricted Space Applications By Nw9t

How To Wire A Garage Unfinished Garage Decor Garage Floor Paint Garage Lighting

Furring For Drywall Between Exposed Joists Exposed Basement Ceiling Basement Ceiling Basement Design

Knee Braces For Carport Carport Timber Beams Knee Brace

Lovely Garage Overhead Storage Diy 11 Diy Overhead Garage Storage Shelves Diy Overhead Garage Storage Garage Storage Shelves Garage Ceiling Storage

Loft Conversions Specialists In Yorkshire Lincolnshire Milestone Loft Conversion Special Loft Conversion Loft Conversion Truss Roof Loft Conversion Trusses

Antique Wood Beams Home Attic Rooms Attic Remodel

Pin Di Beam
Removing An Interior Load Bearing Wall Extreme How To

Pin On Balochnaya Konstrukciya

Basement Support Beams Diy Before And After Inredning Design Hem Inredning

Structure Steel To Concr Home Building In Vancouver Steel House Steel Beams Steel

Factory Fabricated Welded Structural Steel Beams And Columns For Construction

Alumidi Concealed Connector Timber Frame Hq In 2020 Beam Hangers Beams Timber Frame

Purlin Bracing Roofing Gable Roof House Gable Roof Design

Diy Mitre Saw Stand Diy Miter Saw Stand Saw Stand Miter Saw
1

How To Build A Diy Sliding Barn Door Loft Bed Full Size Diy Sliding Barn Door Diy Loft Bed Loft Bed

Pin On Fence

How To Build A Loft Diy Step By Step With Pictures Build A Loft Bed Loft Bed Plans Diy Loft Bed
6 Flush Inside 45 Plate Connector Truss Tie 2pk Roof Truss Design Steel Trusses Beams

Raising Ceiling Height In Attic Attic Renovation Attic Remodel Attic Flooring

Douglas Fir Timbers With Steel Connections Timber Architecture Timber Framing Steel Columns

Panel Saw Plans Circular Saw Tips Jigs And Fixtures Woodarchivist Com Woodworking Plan Woodworking Used Woodworking Tools

Historic Home Attic Strong Back Youtube

Diy Hidden Doorway Bookcase Hidden Door Bookcase Bookcase Diy Hidden Bookshelf Door

Pin On Building Diagrams

2280 3 46 X 28 Garage Plans With Loft Garage Plans 3 Car Garage Plans

How To Install An Attic Ladder Youtube
Pole Barn Loft Framing Size Questions

Hinged Bifold Closet Doors British Brace Design Remodelhome Basement Decor Basement Remodeling Finishing Basement

Shoring Up The Attic With Supports Youtube

Steel Structure Warehouse Steel Structure Workshop Steel Structure Design Steel Architecture Structure Design Steel Structure
Https Dallasareahabitat Org Wp Content Uploads 2020 07 Introduction To Basics 1 Framing Basics 2 2019 Pdf

Www Beamcalculation Co Uk Model D3f6203e D633 498e 9220 3fa357001941 Large Jpg 480 360 Ridge Beam Rafter Beams

High Wind Ties Diy Done Right Hurricane Ties Hurricane Clips Hurricane

Track Lighting On Beams Track Lights Forever Kitchen Lighting Attic House Attic Bedroom Storage

Room Ideas Bedroom Interior Loft Room

How To Build A Door Warm Insulated Cozy Beautiful In 2020 Building A Door Door Plan Diy Exterior Door

Pin On Electric